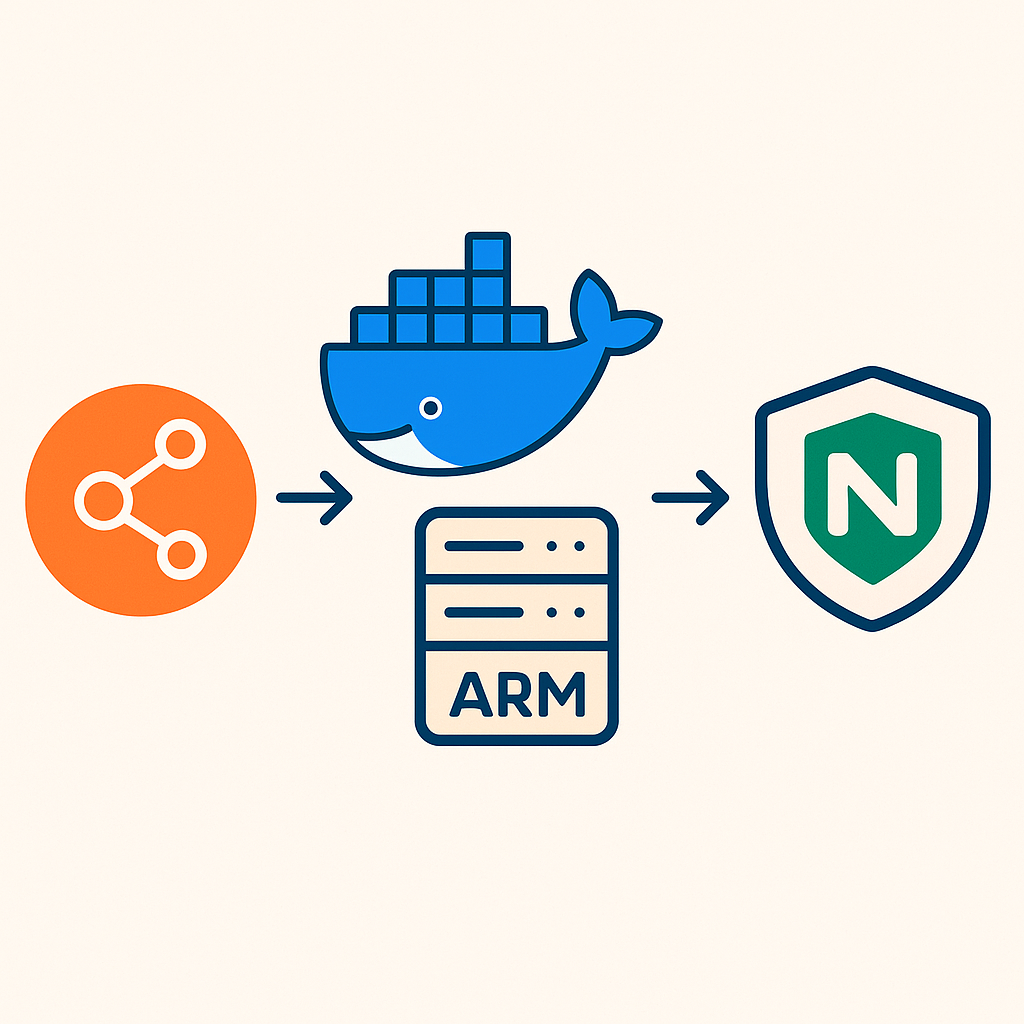
Want to run your own AI-powered automation workflows — completely free, forever? In this guide, I’ll show you how I set up an n8n instance using Oracle Cloud’s generous Always Free Tier (24GB ARM VM!) and Docker — all secured with Nginx Proxy Manager and running with HTTPS via Cloudflare.
Perfect for testing AI + automation projects, integrating APIs, running agents, or building your own smart assistant stack.
Highlights:
- Free 24GB RAM ARM Server (Oracle Cloud)
- Dockerised n8n + Nginx Proxy Manager
- Works with AI agents, GPTs, Claude, and tools like Airtable, Notion, Google Sheets
- Fully HTTPS with Cloudflare and Nginx
- Always Free = perfect to run your automations 24/7
Step 1: Create a Free Oracle Cloud Instance (with SSH, Firewall, and Docker Setup)
1. Create Your Oracle Account
Go to https://cloud.oracle.com/
Log in or sign up for a free account. (Note: they’ll ask for a card, but you won’t be charged.)
2. Generate Your SSH Key (on your local machine)
Open your terminal and run:
bashCopyEditssh-keygen -t ed25519 -C "oracle" -f ~/.ssh/id_oracle_ed25519
This will generate:
~/.ssh/id_oracle_ed25519(your private key – keep it safe)~/.ssh/id_oracle_ed25519.pub(your public key – copy this one)
3. Create the Instance
- Go to Compute > Instances
- Click Create Instance
- Set it up as follows:
Name: n8n-server
Image and Shape:
Click Edit, then choose:
- Image: Ubuntu 22.04 (ARM)
- Shape:
VM.Standard.A1.Flex- OCPUs:
4 - Memory:
24GB
- OCPUs:
Add SSH Key:
Choose Paste SSH Key, and paste the contents of your public key (~/.ssh/id_oracle_ed25519.pub)
Boot Volume:
50GB is fine (can go up to 200GB under the free tier)
Click Create and wait for the instance to boot.
4. Open Required Ports (Security List Settings)
By default, only SSH (port 22) is open. You’ll need to open the rest manually:
- On your instance page, click the Subnet under Primary VNIC
- Scroll down to Security Lists
- Click the active security list
- Click Add Ingress Rules and add these rules:
| Source CIDR | Protocol | Destination Port |
|---|---|---|
| 0.0.0.0/0 | TCP | 22 |
| 0.0.0.0/0 | TCP | 80 |
| 0.0.0.0/0 | TCP | 81 |
| 0.0.0.0/0 | TCP | 443 |
| 0.0.0.0/0 | TCP | 5678 |
This allows access to:
- SSH (22)
- HTTP (80)
- Nginx Proxy Manager admin panel (81)
- HTTPS (443)
- N8N UI and webhooks (5678)
5. Connect to Your Server via SSH
Copy your instance’s public IP address, then connect from your terminal:
bashCopyEditssh -i ~/.ssh/id_oracle_ed25519 ubuntu@<YOUR_PUBLIC_IP>
Replace <YOUR_PUBLIC_IP> with the IP shown on your instance page.
6. Update the System and Install Docker
Once logged in, run the following:
bashCopyEditsudo apt update && sudo apt upgrade -y
Then install Docker and Docker Compose:
bashCopyEditcurl -fsSL https://get.docker.com -o get-docker.sh && sudo sh get-docker.sh
sudo usermod -aG docker $USER
newgrp docker
sudo apt install docker-compose -y
Your server is now fully prepared and ready to run N8N, Nginx Proxy Manager, and any AI-powered automations you want to build. Ready for Step 2?
Step 2: Set Up Nginx Proxy Manager (Reverse Proxy with Style)
Let’s build the foundation for your AI automations with a reverse proxy. Why? Because exposing your containers raw to the internet is so 2003.
1. Create a Shared Docker Network
From your server:
bashCopyEditdocker network create proxy-net
This allows your containers (N8N, Nginx etc.) to talk to each other like civilised services.
2. Set Up Nginx Proxy Manager
Create a folder called proxy and move into it:
bashCopyEditmkdir proxy && cd proxy
Create a file called docker-compose.yml with the following content:
yamlCopyEditversion: '3.8'

services:
  nginx-proxy-manager:
    image: jc21/nginx-proxy-manager:latest
    container_name: nginx-proxy-manager
    restart: always
    ports:
      - "80:80"
      - "81:81"
      - "443:443"
    volumes:
      - ./data:/data
      - ./letsencrypt:/etc/letsencrypt
    networks:
      - proxy-net

networks:
  proxy-net:
    external: true
Then, spin it up:
bashCopyEditdocker-compose up -d
Give it a few seconds and you’ll be able to access the admin panel at:
cppCopyEdithttp://<YOUR_PUBLIC_IP>:81
Login:
- Email:
[email protected] - Password:
changeme
Yes, it’s insecure by default. Yes, you should change that. No, I won’t tell anyone.
Step 3: Deploy N8N for AI Automations & MCP Testing
This is where the fun begins.
1. Create the N8N Folder
Back on your server:
bashCopyEditcd ~
mkdir n8n && cd n8n
Create docker-compose.yml inside the n8n folder:
yamlCopyEditversion: '3.8'

services:
  n8n:
    image: n8nio/n8n:latest
    container_name: n8n
    restart: always
    networks:
      - proxy-net
    environment:
      - N8N_BASIC_AUTH_ACTIVE=true
      - N8N_BASIC_AUTH_USER=admin
      - N8N_BASIC_AUTH_PASSWORD=admin123
      - N8N_HOST=n8n.mygrowth.tools
      - WEBHOOK_URL=https://n8n.mygrowth.tools
    volumes:
      - ./n8n_data:/home/node/.n8n

networks:
  proxy-net:
    external: true
Create the volume folder and give proper permissions:
bashCopyEditmkdir -p n8n_data
sudo chown -R 1000:1000 n8n_data
Now launch N8N:
bashCopyEditdocker-compose up -d
2. Configure Domain and SSL
Go back to the Nginx Proxy Manager dashboard:
- Click Add Proxy Host
- Domain Name:
n8n.mygrowth.tools(or whatever you’ve pointed to your server) - Forward Hostname / IP:
n8n - Forward Port:
5678 - Tick:
- Websockets support
- Block common exploits
- Force SSL
- Under SSL tab:
- Enable Let’s Encrypt SSL
- Tick Force SSL
- Fill in your email
- Agree to terms
Click Save.
Give it a minute to generate the cert. Then test it at:
arduinoCopyEdithttps://n8n.mygrowth.tools
Username: admin
Password: admin123 (again, please change this or your automation empire might become someone else’s).
Step 4 (Optional): Check if It’s All Working
Feeling paranoid? That’s normal. Let’s test network connectivity:
bashCopyEditdocker run -it --rm --network proxy-net alpine sh
apk add curl
curl -I http://n8n:5678
If you see a 200 OK, congratulations—you’ve got containers that communicate better than most humans on LinkedIn.
Done! You’re Now in Automation Heaven
You now have a 100% free, scalable N8N server with HTTPS, authentication, a fancy reverse proxy, and bragging rights.
Want to connect OpenAI, Supabase, Telegram, WhatsApp, or invent Skynet in your spare time? This setup can handle it.
It’s perfect for:
- Proving to your mates you actually know DevOps
- AI agents
- Personal automations
- Testing complex workflows

